How to print your blog
An easy step-by-step guide
Printing your blog with Into Real Pages is a pretty easy and straight-forward process. Most people just go straight at it and figure out how the book editor works in the process of making their book.
For those who do like a nice step-by-step guide to making a blogbook, we have written this article for you!
Starting a new project
Assuming that you have already have created an account with us (if not, click here), you will start in your Workspace. Here you will find an overview of all your linked blogs and your created book projects. If you have not created any book, your workspace is empty and you have to add your blog first. After that, you can create a book project from it.
1. Adding your blog
From your workspace, choose to add a new blog. The following popup will appear.
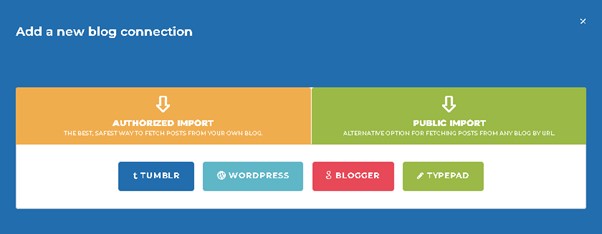
As you can see, there are two blog import methods: the authorized method and the public method. The authorized method usually is the best and safest option and is required if your blog is private. The authorized method is supported for all major blog platforms.
If your blog platform is not supported by the authorized method or if want to create a gift book from someone else's blog, you can use the public import method. Also, in the rare case you run into issues using the authorized method, you can try the public import method too.
(Read more on all our support blog platforms in the article 'What blog platforms can you print a blog from?'
2. Create a new blogbook project
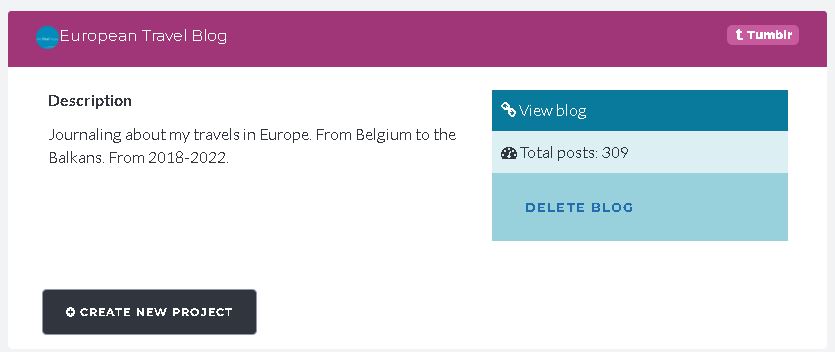
Once you have added one or more of your blogs to your Into Real Pages account, you can easily start a new project from your workspace. All your connected blogs are shown in a list here. Find the blog you want to create a book from and click on the 'create new project' button.
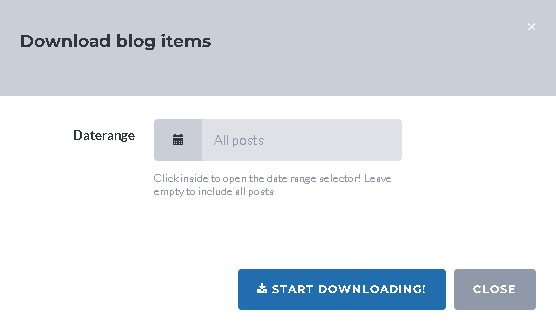
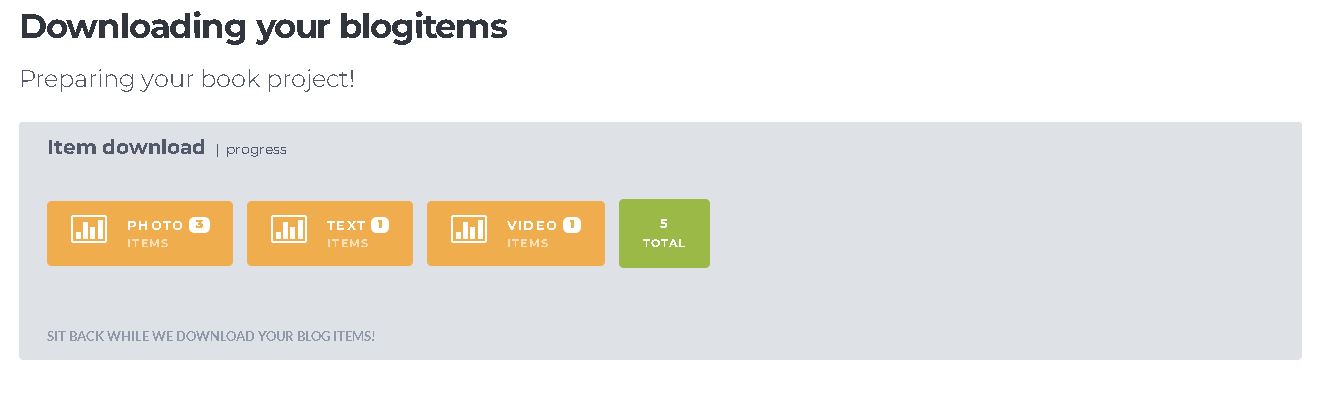
A popup screen will appear. It allows you to set an optional daterange filter to narrow down the range of postitems that you want to include in your book. Click the 'start downloading' button and your postitems will get downloaded into your project. When your blogitems are all downloaded, you will be redirected to the book item editor.
3. Start editing your book
Now your project is created and your items are downloaded into it. Let's start editing!
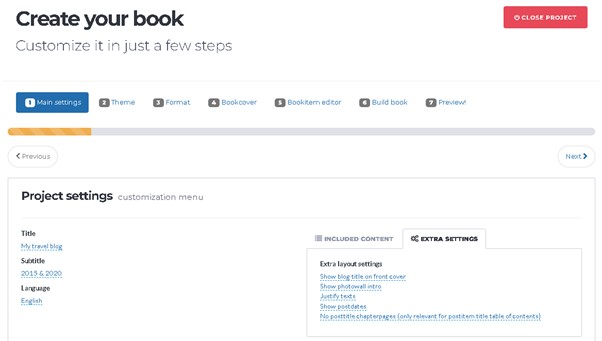
The book project edit menu exists of the following steps:
- Step 1. Configure the main settings
- Here you can edit the title and subtitle of your book as well as add a foreword and back cover description. You can also choose what content you want to include in your book (f.e. posts, pages, comments). And finally, there are a lot of 'extra settings', which are layout options for finentuning the way your book looks.
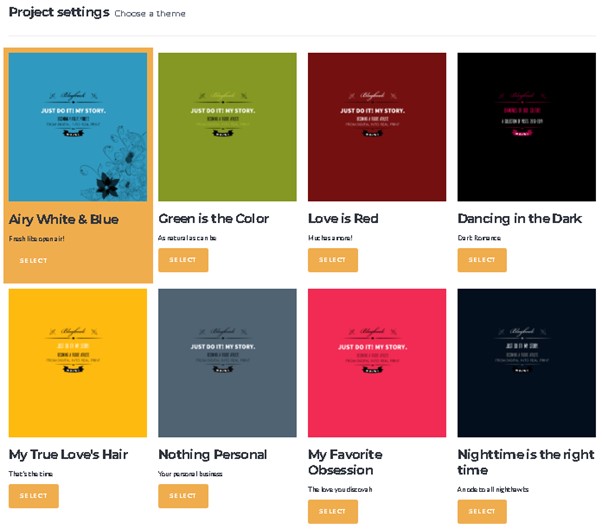
- Step 2. Choose a book theme
- Choose one from the many book themes that we offer. They come in many colors. Some are colorful and playful, others are slick and serious.
- Step 3. Choose a book format
- Choose one from the four book formats that we offer. If you want to learn more about our book formats, you can read our Blog Book Formats article.
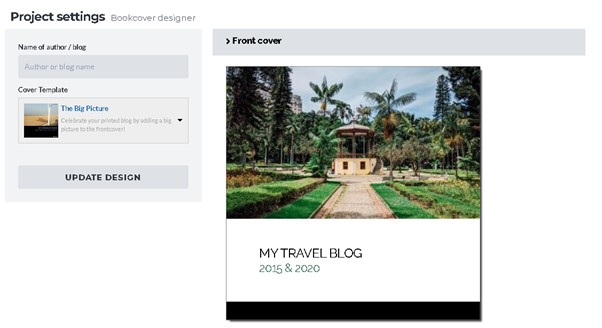
- Step 4. Customize your book cover
- You can select a book cover template and - optionally - add personal photos to your cover as well. Learn more about customizing your cover in our How to customize your blog book cover article.
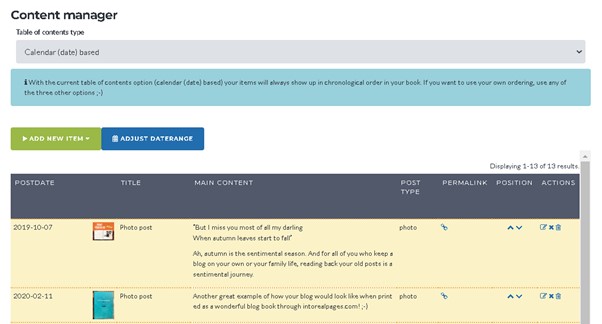
- Step 5. Edit your post items
- If you want, you can make changes to your postitems here. You can also drag & drop the postitems in the order that you want them to appear in your book. You can remove and even add new items to your book. And last but not least: you can add full page photos and chapter pages (learn how)to your book as well!
- Step 6. Generate your book
- Once you have made the adjustments to your project that you want, generate your book in order to see the book preview!
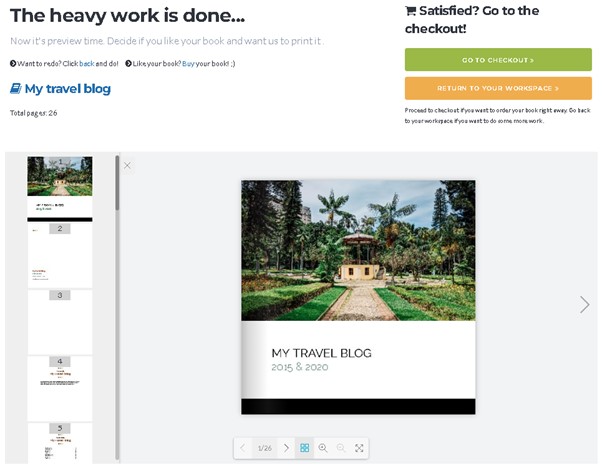
- Step 7. The book preview
- Leaf through the interactive digital version of your book. See if you like the result. If not, you can go back to make changes to your book. If you like the result, you can print it!
4. Print your book
When your book is generated, you can go ahead and print it right away if you like the result.
Besides that, all your created books can be found in your workspace. And from your workspace, you can add any of your books to the shopping cart:
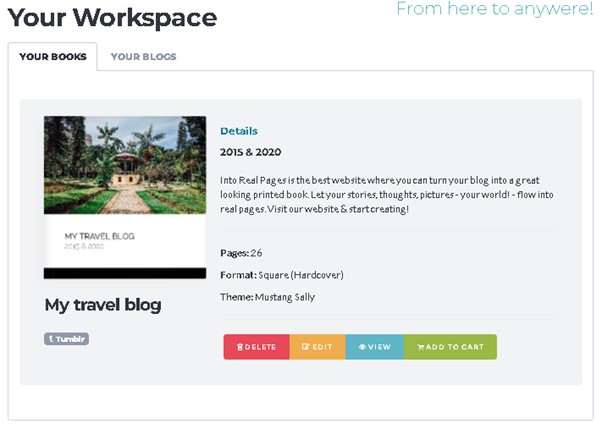
You can then open your shopping cart and proceed to the checkout. Dont forget to check our Facebook page to findo ur latest discount coupons.
The checkout procedure is really straight forward. Our payment provider allows you to pay with all creditcards, Paypal and - for European users - we offer iDeal, Sofort and Bancontact. We ship worldwide!
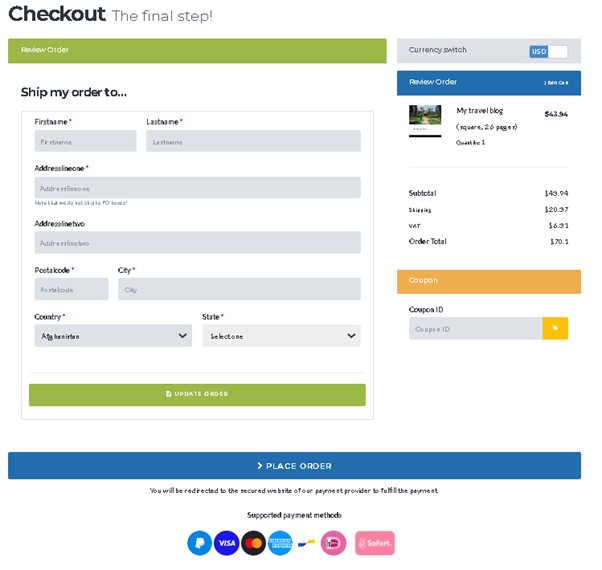
After the payment is fulfilled, your order will be send into print right away. So the only thing you now have to do is wait and be super exited when your book package is delivered to your door. The feeling of receiving your printed blog is really wonderful. Your stories, captured in a book, brought home to you. You can hold it in your hands, show it to family and friends - and enjoy it for many many years!
Book editing process FAQ
What Blogging platforms do you support?
You can easily print your blog as a book from all the major platforms like Tumblr, Wordpress, Blogger (Blogspot) and Weebly. We also support minor platforms like Travellerspoint. Finally, we do add support for specific platforms on demand for users. Read more in this article on our platform support: What blog platforms can you print a book from !
Can I turn someone else's blog into a book as a gift?
Yes. Creating a book from a blog of a friend or family member is a wonderful gift indeed! If you register to our website and start a new blog book project, you can choose to import data from a public blog. Fill in the URL of the blog and get your project started!
I have a blog with a huge amount of post items. Can I put them all in a book?
Our hardcover as well as softcover books can have a maximum of 450 pages. It's hard to tell how many posts can be printed per page. Because it depends completely on the amount of content that your posts have. If your blog has mostly short posts with a few pictures and captions, 2 to 3 posts will fit on a page. But if your posts are - for example - large stories with many photos, a single post can span many pages. In case your blog has too much content to print in one book, you can consider creating a series of books. For example: part I: 2016. Part II: 2017, etc.
Can I edit the pages of my book and it's page layout after it is created?
In short: no :(Into Real Pages allows you to personalize your book by setting a title, subtitle, writing a foreword, choose a nice theme, but you can't take full control of the way the book pages look. We figured our books look great by default, so there's no need for big changes ;) Note: you can edit your post items, change texts and even add pictures to your posts!
Are there instruction videos that show all features of the Into Real Pages Blogbook editor?
Not yet... You can find a few instruction videos on https://www.facebook.com/intorealpages . But(!) we are working on adding more to our website and they will be available soon!
Can I edit the content of my book?
Yes. Our Post Item Manager allows you to edit your post items in your book project. You can add or remove text and images. You can also drag and drop the items in the order that you want. Deleting individual items: no problem! You can even add new items that aren't even on your blog ;-) Or how about adding a few nice full page sized photos to your book!
I want to continue working on a book project. If I choose 'redo', will I loose my saved settings and data?
No. If you choose 'redo', you simply re-open your book project. Nothing will be reset or deleted or even changed. You've just re-opened your project and can pick up your work were you left it!
I try to build my blog book, but the process freezes and never finishes. Help!
There are many reasons why your blog book building process freezes or fails. When the process fails, our website will show a notification message with the cause of the issue. The two most common causes are:
- Book has too many pages. Solution: narrow down the range of postitems included in your book.
- Book has many extreme large resolution images. Solution: contact us and we will help you out.
In case your book doesn't get build and you have no idea why, send us an email and we will fix the issue for you!
I have a travel blog and make use of Google Maps in my post items. Will they appear in my book?
If you want to turn your travel blog into a printed book (TravellersPoint, TravelArk or any TravelPod spinoff, this article maybe of use to you. Although your maps won't be downloaded into your book directly, with a little bit of manual effort, you can integrate your travel maps easily ;-)