Adding a picture to post items in your blog book project
Easily edit the content of your blog book
The Into Real Pages blog book editor allows you to edit all post items in your book. This is very easy. You can edit texts, add titles, quotes and even replace images or upload new images into the items.
This instruction will tell you how it works.
First step
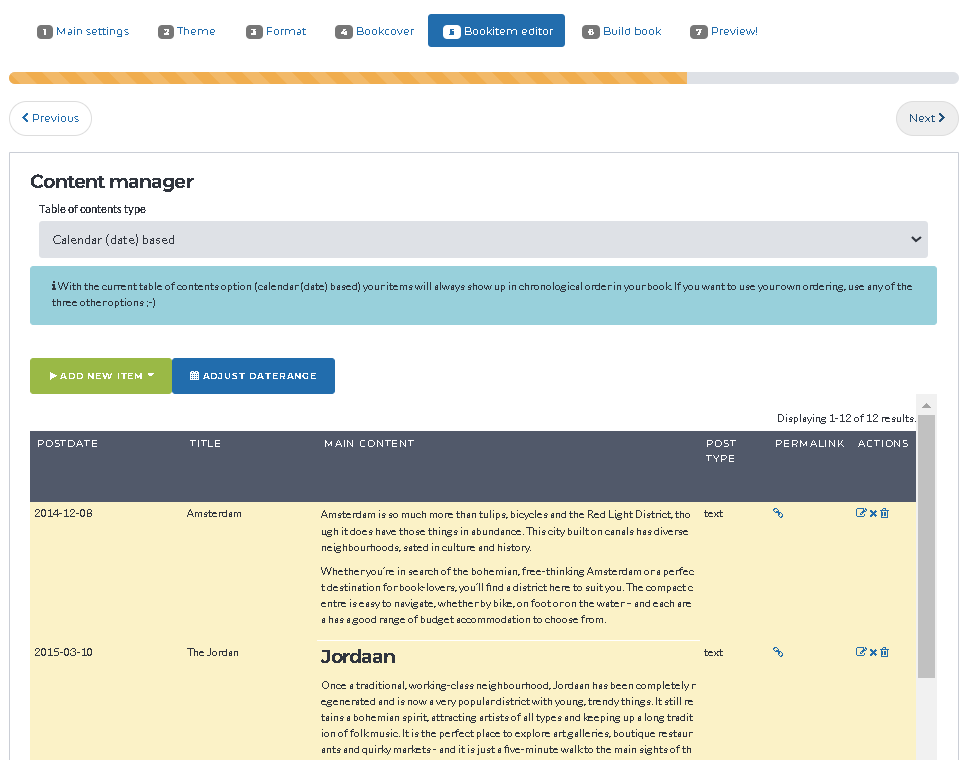
First, open one of your book projects. You can find them in your workspace. When in the book edit screen, go to step 5 (Bookitem editor).

In this menu, you will find a list of all the downloaded post items. The ‘actions’ column on the far right of the list shows three blue icons for each post item, respectively the ‘edit’, ‘exclude’ and ‘delete’ actions.
Find the post item that you want to edit and click on the blue ‘edit’ icon.
Second step
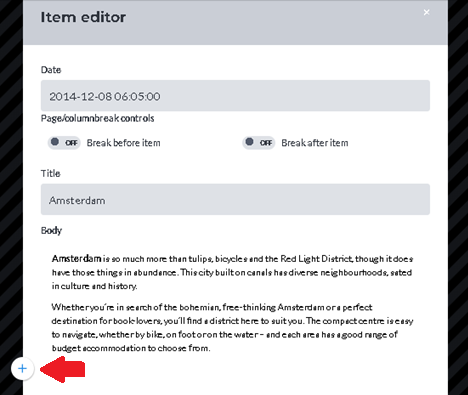
Now the Item Editor will pop up. In it, you will see the post item that you want to edit. It looks and works very similar to the post item editor of your blog platform.
If you click somewhere in the text, you will notice that a plus icon will appear:

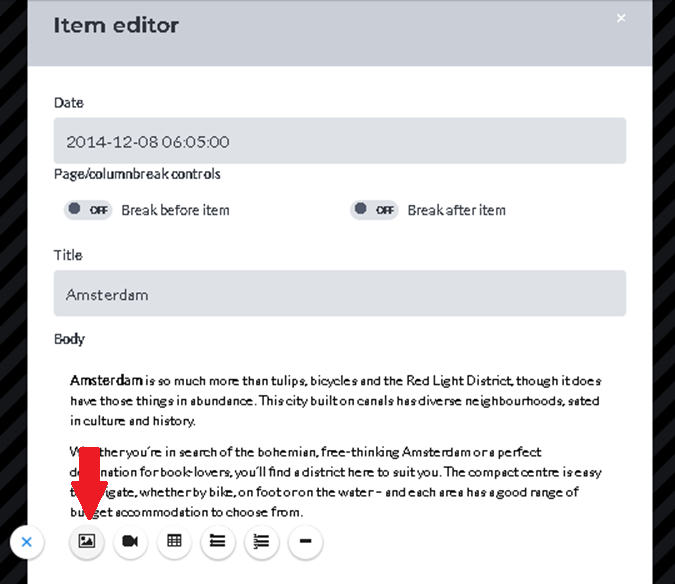
If you click on the icon, it will expand and show you a couple of options. Click on the first option (image icon) to upload an image at the position where the cursor is placed.

(Note that you can also find all these options and even some more at the very top of your screen. There you will find a top bar that looks like this:

You can use the top bar as well to upload an image. It basically works the same.
Last step
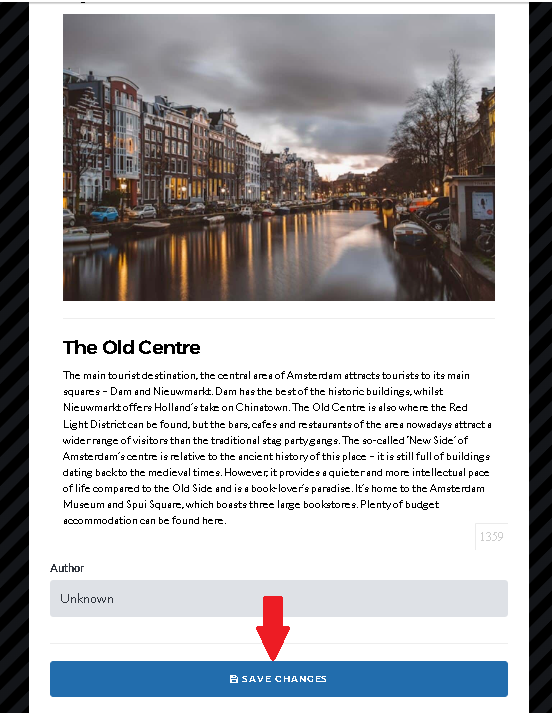
After clicking the image upload icon, the file chooser will appear and allows you to select a photo from your local device. Once selected, upload the image and it will appear in your post item. Note that the maximum allowed size of an image is 8mb.
You can upload as many photos to your post item as you want.
If you are done editing the post item, scroll down to the ‘save changes’ button and click it.

Now the post editor screen closes and you are back in your book project screen again!
Done!