Tip for printing your travel blog as a book
Add a map to your book
Many travel bloggers add Google maps to their blog posts. When printing your travel blog as a book, we understand that you also want to include these maps along with the rest of your blog content. We are working on an automatic way to import the maps into your book. However, for now, this article will show you an easy way to add the maps yourself.
There are just a few simple steps that you will have to follow. These are:
- Take a screenshot of the specific Google Map
- Go to the ‘Bookitem Manager’ in your Into Real Pages book project
- Edit the item into which you want to insert the map
- Insert the map and save your item
- Done!
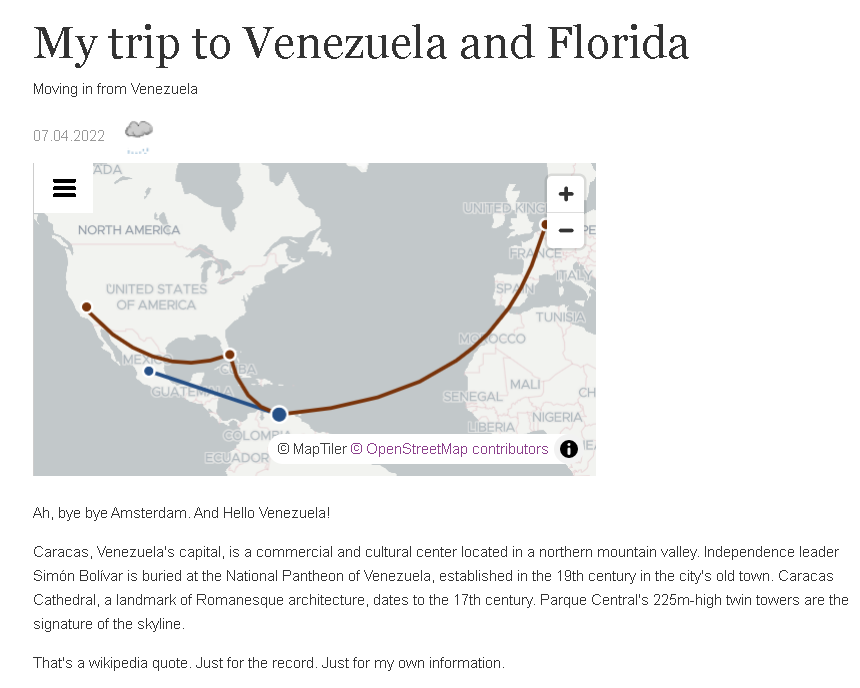
So, for example, let’s say we have an item on our online blog about our travel to Venezuela and Florida:

Taking a screenshot of your map
Taking a screenshot of the map is easy. Especially on a mobile device. On Windows you can use the default ‘Snipping Tool’ app. If you are on an iMac, read this article.
Take the screenshot and save your map to your device as a picture.
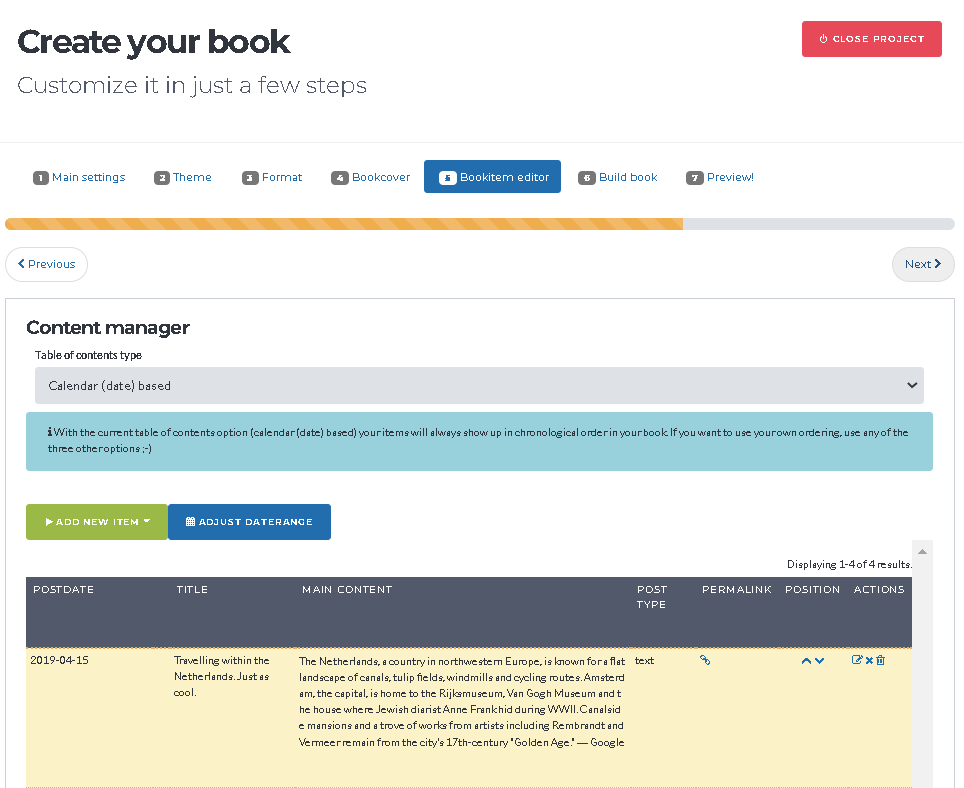
Go to the Bookitem Manager
Then open your book project on Into Real Pages and go to step 5 of your project.

Here you will find a list of your post items.
Edit your post item and add the map
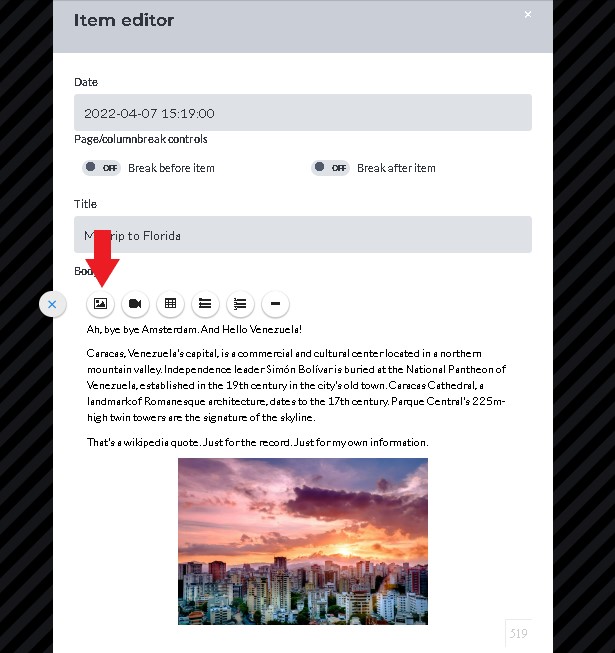
Now, open the post item that you want to add the map to in the editor. For this, click on the blue ‘pencil’ icon at the right of the post item.
The editor that will popup will easily allow you to upload a new image into your item. You can use this function to upload the screenshot.
Click somewhere in the item where you want to insert the map and a toolbar will appear. Use this to upload the map.

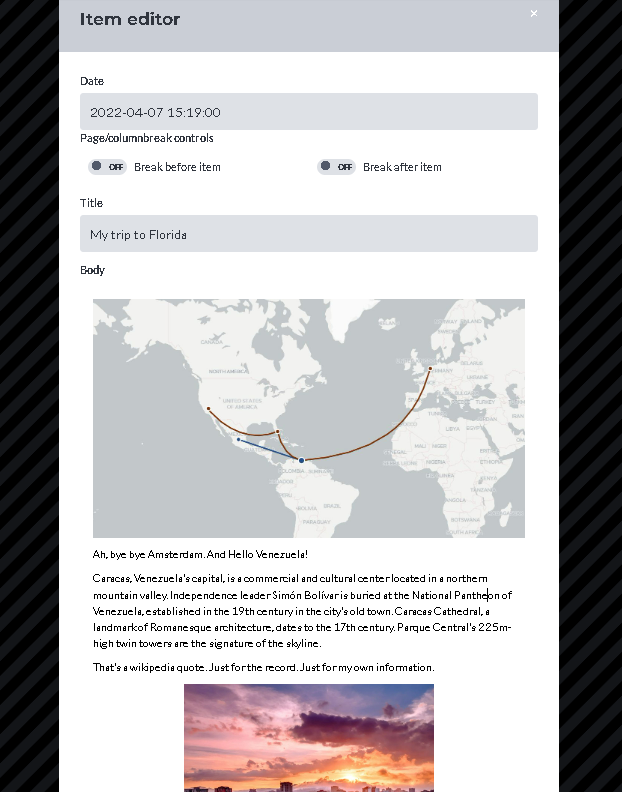
And voila, the map now is in your post item. Simply save the item and you are done! You have your map and it will appear in your book.

Let me know if you have questions or if you run into difficulties uploading maps to your travel post items.!